Booting up my Raspberry pi 2

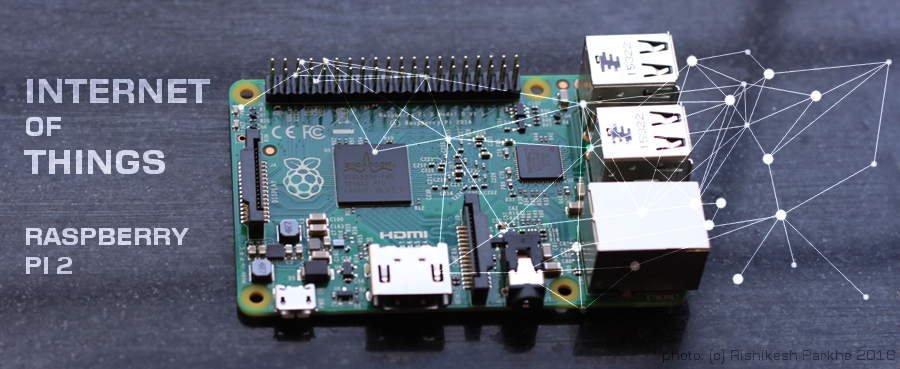
Raspberry pi is a small and cheap bare minimum computer. It has been around for a while. It can be connected to various devices and can function like a normal desktop computer (apart from the performance aspects). Programs written in many different languages (ruby, python, javascript, C#, C++, java… etc) can be run on the pi!
In the first incarnation of the model there were a few variants like A, A+, B, B+. Now, there comes the pi 2 and they have really put everything into this one :) You have to love this small powerhouse of a computer… It is absolutely perfect for the DIY or IOT (internet of things) applications. It comes in with a dedicated graphics processor, that means the pi can do HD graphics.
Some of highlighting features of the pi
- ARM Cortex A7 quad core (900 MHz)
- 1GB RAM
- VideoCore IV 3D graphics core
- Full HDMI port
- CSI Camera interface
- the list goes on…
Quad core is really too much power for an embedded device (type of), if a computer is required for such usage or lower power consumption, it is recommended to use the earlier models. I had ordered the pi 2 B model.
The pi is a full computer hence, we need an OS for the pi. There are a lot of options ranging from
- NOOBS
- Raspbian (debain)
- Windows IOT core many more are there on the pi website.
I am going with minimal amount to begin with, hence I only need the runtime - and also I wanted to checkout the Win10 IOT Core
Download the ISO image from http://ms-iot.github.io/content/en-US/Downloads.htm
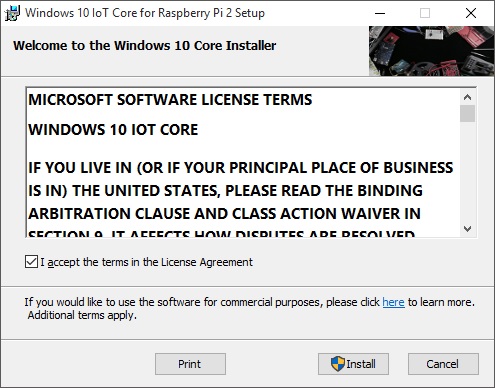
Installed the msi embedded into the ISO

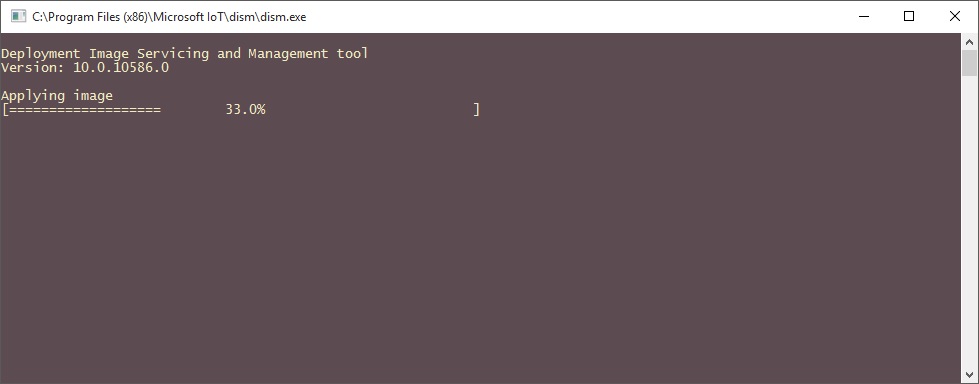
Then we need to burn the .ffu image from the installed setup into the micro sd card. An adapter is requried for connecting to the laptops.

Thats all… Microsoft has made things very easy. Well, even Linux is easy but I wanted test the waters of the windows 10 runtime.

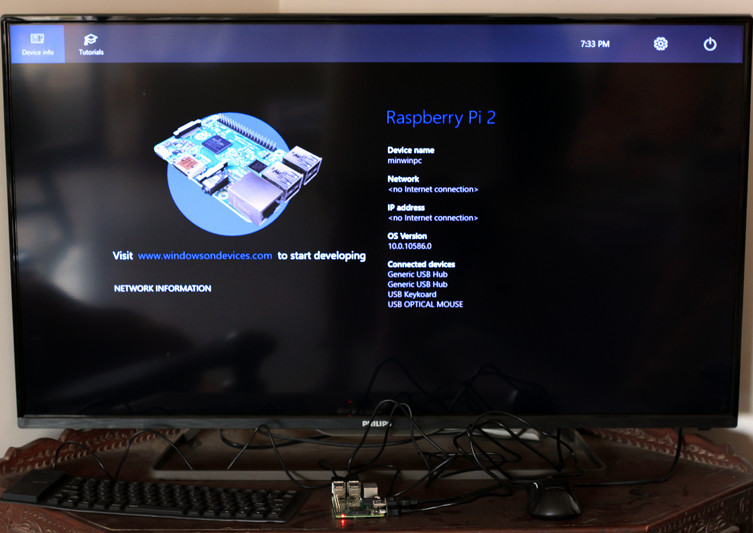
I have connected the peripherals and the HDMI cable to the tele and voila, its up and running. It doesn’t do much (yet) But, there is a blinky program here which can work straight away from the user interface seen in the picture above.
Cool stuff indeed! Its got an ethernet cable, once connected it is ready to be a IOT device which can be controlled and connected to other devices. I have a very small monitor but it has the old style AV pins for connections. I will see how I can get that working along with they keyboard and mouse :)
More posts